
Concrete Tip of the Day #4: Placing and Finishing Concrete – Getting It Right From the Start
- sales441514
- Jul 28, 2025
- 2 min read
Updated: Jul 29, 2025

Placing and finishing concrete isn’t just about getting it into the formwork and smoothing the surface. It’s a carefully timed process that directly affects strength, durability, and long-term performance. When done correctly — especially with proper vibration and finishing techniques — it can significantly improve concrete quality.
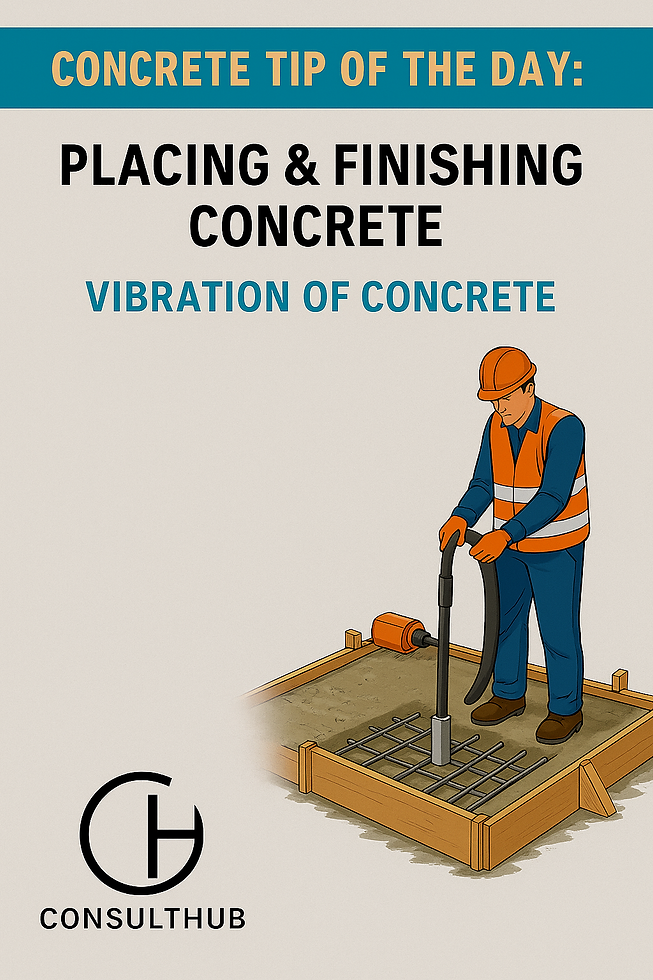
🔊 Why Vibration Matters
Fresh concrete needs just the right level of workability to move into position around reinforcement and into formwork corners. But when space is tight or reinforcement is dense, mechanical consolidation becomes essential — and vibration is the best solution.
✅ Benefits of Vibrating Concrete:
Allows placement of low-slump, high-strength mixes
Reduces air voids and improves density
Improves uniformity and homogeneity
Enhances bond with reinforcement
Minimises plastic settlement and shrinkage
Helps layers merge into a monolithic structure
🧱 Using Low-Slump Concrete
Vibration allows for stiffer concrete to be placed efficiently. This enables:
Lower water-cement ratios
Higher strength and lower shrinkage
Better early and long-term performance
Vibration Duration: Usually 5 to 15 seconds per insertion is sufficient. Indicators of adequate vibration include:
Uniform movement at the surface
Appearance of cement paste at form edges
Steady vibrator tone
Vibrator “feel” in the operator’s hands
⚠️ Avoiding Over-Vibration
Wetter mixes are more vulnerable to over-vibration, which can:
Cause mortar-rich surface layers
Lead to horizontal stratification
Reduce durability and surface quality
Air-entrained mixes and stiff concretes made with lightweight aggregates should receive only minimal vibration.
Important:
Don’t use vibrators to move concrete horizontally — it causes segregation.
Vibrate each layer systematically, inserting the vibrator vertically at 300–500mm intervals, and penetrate 50mm into the previous layer.
Ensure immersion time is long enough to remove entrapped air — usually around 10 seconds.
🛠 Finishing Concrete the Right Way
Finishing must wait until bleeding has stopped.Starting too soon means:
Excess bleed water gets trapped at the surface
Weak, dusty, and easily damaged top layers form
Risk of surface delamination later
Weather conditions play a major role:
High winds, heat, or low humidity can cause moisture to evaporate too quickly
Even when water isn’t visible, internal bleeding may still be active
Tip: Use evaporation retarders (like evaporation control films) in tough conditions to reduce the risk of plastic cracking.
🧴 Curing Compounds and Surface Finishes
If wet curing isn’t practical, use a high-quality curing compound. Consider:
Breakdown behaviour — some products require grinding to remove
Compatibility — with coatings, sealers, or hardeners
Note: Precast release agents and silicate-based hardeners don’t meet curing standards.
🎨 Common Surface Finishes:
Smooth/polished: Hard-wearing, easy to clean
Broomed: Better grip but less wear-resistant→ Broom in direction of water runoff to aid drainage→ Increased surface area = increased risk of cracking
✅ Stay tuned for the next episode of Concrete Tip of the Day!


Comments